Installation Guide
Quickstart
- Install Unity 6000.3.0f1 + Android & Windows (IL2CPP) modules.
unityhub://6000.3.0f1- Create a URP project.
- Install the NervWare package via git URL. You must have Git installed.
https://github.com/Quantum-Lion-Labs/NervWare.git- Log in via the Welcome Panel and Inject Project Settings (NervWare > Welcome).
- Create!
Installing Unity
Prerequisite
You will need Git for the Unity package manager to function properly. You can download Git here. Default installation settings are fine. Some systems may have this pre-installed. Restart your computer after installing Git.
You will need Unity Hub and Unity version 6000.3.0f1.
Install Unity Hub. You can download Unity Hub here.
Once Unity Hub is installed, open the installer for the correct editor version by pasting
unityhub://6000.3.0f1into your browser, or by visiting Unity's download archive.
unityhub://6000.3.0f1- Make sure to include the required
Android Build SupportandWindows Build Support (IL2CPP)modules. Everything else can be left unchecked.
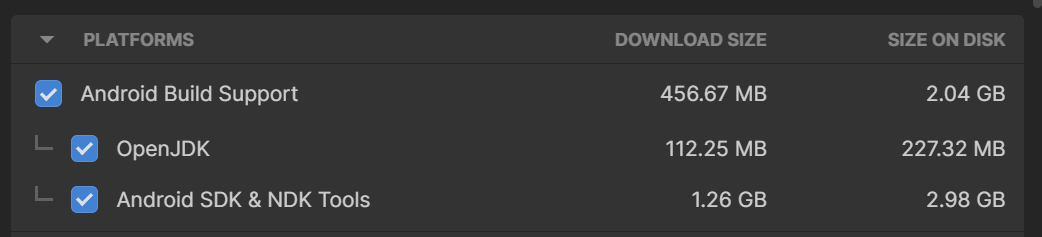

- Press Continue to install Unity with the required modules.

Making the SDK Unity Project
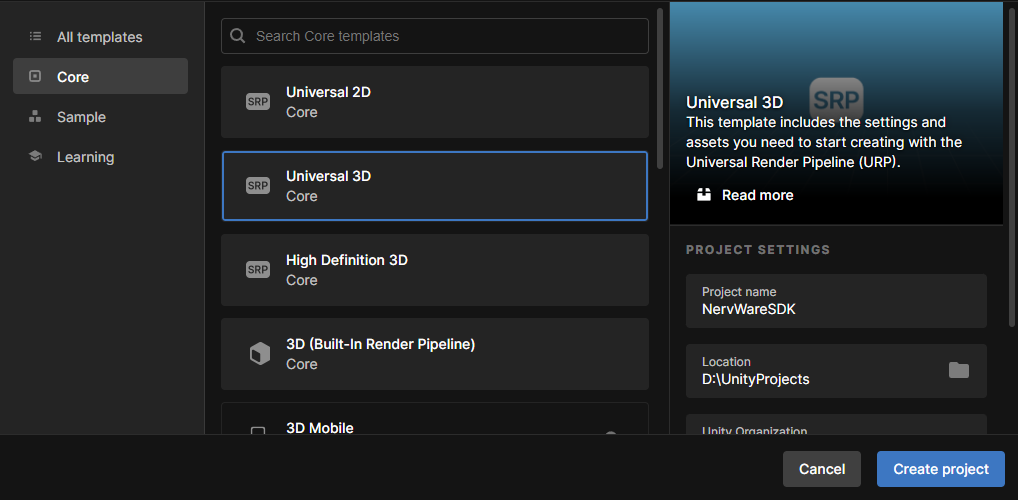
Once Unity has finished installing, you can make your SDK project. In the Projects section of the Unity Hub, choose New Project
You can name the project whatever you'd like. You can also store the project wherever you like. The only requirements here are that you choose Universal 3D Core as your template project, and that the Editor Version is 6000.2.0f1. This will ensure the render pipeline is setup correctly. Press Create project to continue.
After a small wait you should be presented with the Unity Editor. Now it is time to install the SDK.
Adding the SDK Package
To add the SDK, go to Window > Package Manager to open the Package Manager. Click the + drop-down and choose Install package from git URL.... In that field, paste in the git URL of this repository:
https://github.com/Quantum-Lion-Labs/NervWare.git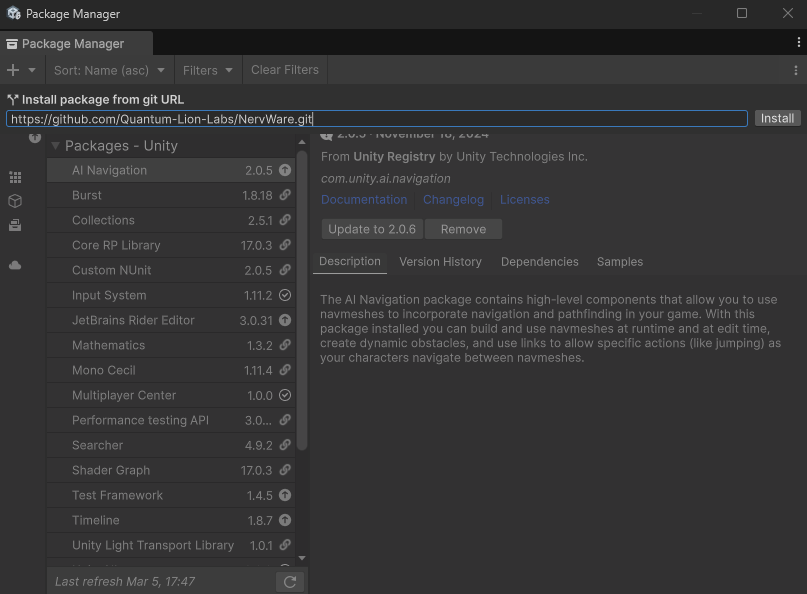
Click Install. The SDK will now install. This may take a moment. A Project Settings window may open. You can safely close this. You will now have the latest version of the NervWare SDK.
Logging in to Mod.IO
After installing the SDK package, you now need to log-in. NervBox mods are hosted on Mod.IO. An account is required to do so. Luckily this is easy to do through the welcome panel.
To log in:
From the welcome panel (if it is not visible go to the menu bar, choose NervWare > Welcome) enter the email that you wish to use for Mod.IO and click Request Auth Code. A code will be sent to your email, which you can then paste into the field to login. You will then be signed into the NervWare SDK.
Project Settings Injection
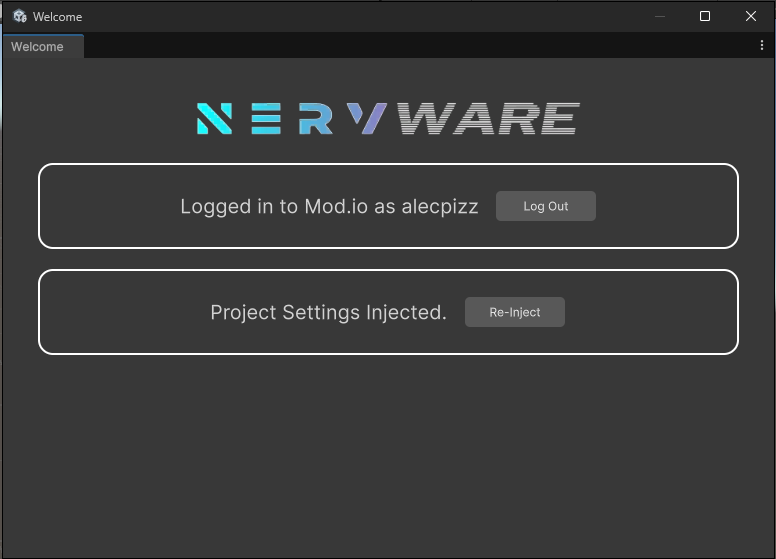
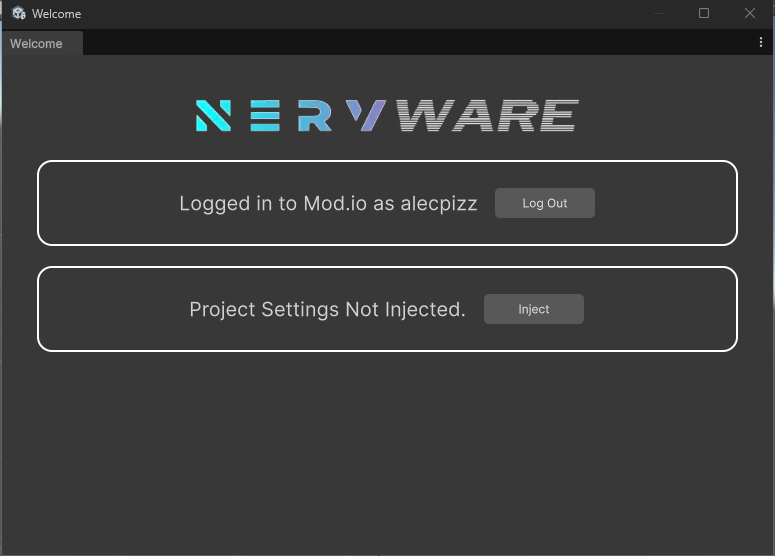
Following log-in, the SDK needs to have some settings adjusted to match NervBox's. Open up the welcome panel again. Then click the Inject button next to Project Settings Not Injected to validate the project settings. This may take a moment.
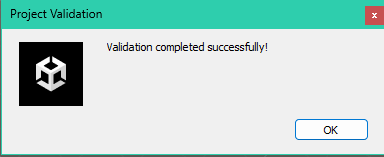
Upon completion you will see a pop-up letting you know it validated successfully!
You now need to restart your project to fully initialize the SDK. A prompt will appear allowing you to automatically do so.
If you ever change a setting, and your mods are no longer behaving how you expect them to, you can always re-inject the project settings using the same button.
What's Next
Congrats! You have now installed the NervWare SDK. You can now begin creating your first spawnable.
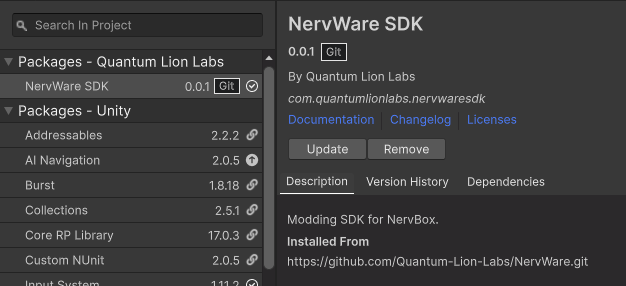
FOR FUTURE SDK UPDATES - Updating the SDK
If your SDK is out of date, you can update it through the Unity Package Manager.
Go to Window > Package Manager. Select the In Project Category
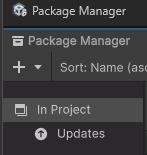
There will be a Quantum Lion Labs sub-category. Click the Update button to check for SDK updates and update your project.